what is the cost to install slide out topper
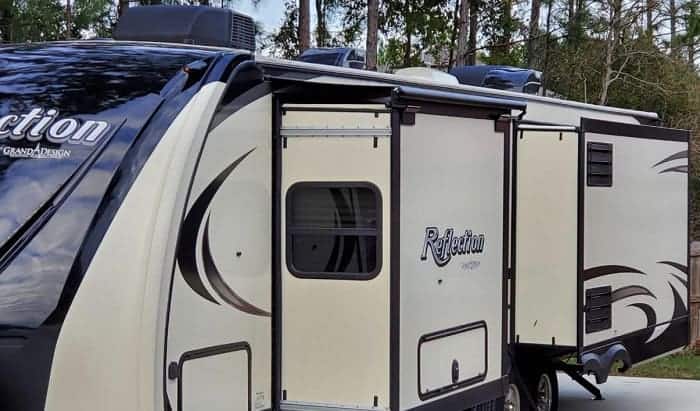
Slide-out rooms tend to exist in the rear of the RV, and they can accommodate diverse configurations such as sleeping quarters, dining rooms, and bathrooms. Nevertheless, these slide-out areas are prone to damages if you exercise not do an RV slide topper installation.
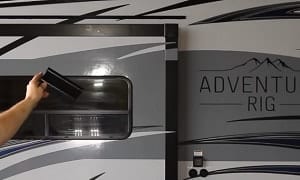
With that said, you lot are now left wondering, how to install RV slide out awning? First, you need to gather the essential materials and tools, such as an awning rails, the RV slide out covers, and a bones set of tools.
And then, brand sure that the mounting brackets are secure. That style, the travel trailer slide out awning will not fall.
At first, the process might await relatively straightforward. But be wary as missing some important details can make y'all commit costly errors. Keep reading to know more about the things you volition need for this projection and how to complete it efficiently.
Contents
- What You'll Need
- Stride-by-Stride Instructions
- Step one: Mount the Brackets
- Step two: Mount the Roller Tube
- Step 3: Secure the Slide-out Canopy
- Conclusion
What Y'all'll Need
In sure cases, the RV slide out installation should merely take about 2 to 4 hours. But earlier you start, acquire the measurements for the RV slide out canopy installation. Remember to measure the entire length and depth of the flange.
The awning should extend at least ii.5 inches in either direction. Bank check out the following list of some slideout widths and their compatible awning sizes for your reference:
- 56 to 61.5 inches: 66-inch awnings
- 75 to 68 inches: 75-inch awnings
- 25 to 74 inches: 78-inch awnings
- 25 to lxxx inches: 84-inch awnings
- 25 to 86 inches: 90-inch awnings
After getting the ideal measurements for slide toppers for RVs, y'all can proceed with gathering the other important pieces of equipment for the project. These items include the following:
RV slide-out awning kit: With so many options for RV slide out awnings, it can be challenging to narrow down your search. Past keeping certain factors in mind, you lot can limit your options and arrive at a articulate purchasing determination.
Aside from the size of the awning, you should besides consider the fabric's structure. 2 pop options that are too quite durable are acrylic and vinyl.
Take note that these two fabric options take their distinct pros and cons. For example, in many cases, vinyl is more h2o-resistant compared to acrylic. On the other hand, acrylic is cooler than vinyl.
Y'all can likewise bank check out the product descriptions and owner's transmission of specific slide-out awning kits.
For example, doing a Carefree slide out awning installation might mean that you need to comply with singled-out setup instructions to make the awning fit properly.
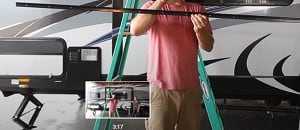
Stepladder: Many RVs are tall vehicles, which ways that yous need a stepladder in installing slide out awnings. It is because you need to attach some parts virtually the roof of the rig.
You tin can hands selection up a stepladder from a local hardware store. But purchasing the incorrect model can increase the risks of accidents.
Therefore, make sure that the ladder has a adequately sturdy construction. Information technology should have no trouble carrying the weight of an boilerplate-sized developed.
Search for stepladders made of aluminum or fiberglass every bit these materials tend to outshine others in terms of durability. You may also buy steel ladders, although these options tend to be more expensive than other models.
Other tools: Aside from the awning kit and stepladder, you demand to accept the right handheld tools for the project. Some of the equipment that this task requires are:
- Articulate sealant
- Drill (and the right drill bits)
- Screws
- Pencil (to mark placements for the holes & the rail)
Make sure that these items are inside your mitt's accomplish while you are doing the RV slide out awning installation. Otherwise, it is too a good idea to have someone nearby to requite yous the items when needed.
Step-by-Step Instructions
Before y'all beginning, make sure that you accept the items nearby and accounted for the task. Check if yous need additional screws for the job. Otherwise, you may need to render to the hardware store to purchase extra screws.
After that, yous can beginning with the installation process. Make sure to follow each step appropriately. Avoid getting worked upwards and hurrying each step. Otherwise, you might commit some plush mistakes.
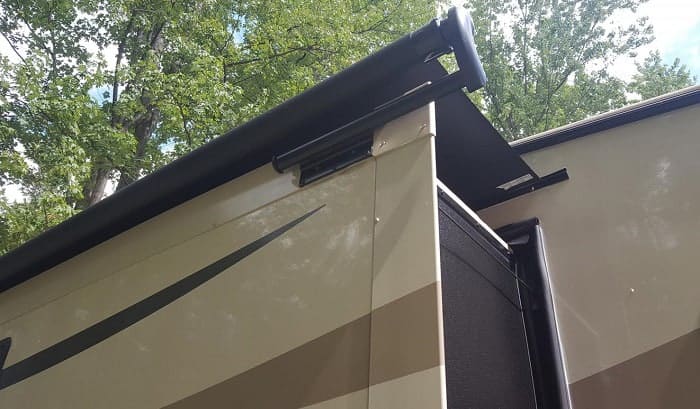
Step 1: Mount the Brackets
Mounting the brackets is the first step to install an RV slide-out awning properly. The surface where the mount will go should have plenty framing or thickness for the brackets and screws to attach to.
Do not skip this inspection first because aluminum or fiberglass skins must concur well onto the mounting hardware. Then, marshal the brackets to the inside edges of the flange'southward top and side room areas.
Coat the surface with your preferred sealant. But pay attention to the mounting holes. Consider sealing these areas after you lot put in the screws to avoid water leaking into them during rainfall.
Also, yous may need to apply a stepladder for this step. Large campers, motorhomes, and 5th wheels tend to accept a acme of 10 feet or over. Still, if you lot accept a smaller travel trailer, a stepladder might not exist necessary.
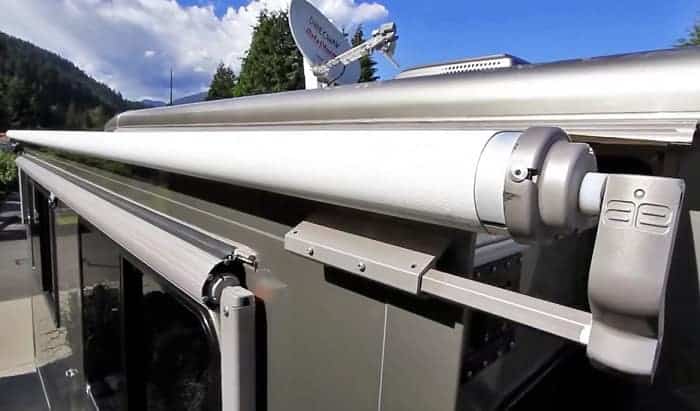
Step ii: Mountain the Roller Tube
After the brackets are securely in place, you need to mount the slide-out canopy's roller tube.
With the aid of a flat-head screwdriver, open one finish of the track slightly. Again, do not be hasty and utilize more forcefulness than necessary. Clean the runway if information technology is dirty, and spray it with silicone lubricant.
Next, unroll a bit of the awning's fabric from the tube. Slide that minor amount of the fabric into the awning runway while ensuring that it stays in the center. If it has some slack, curlicue the actress fabric back into the roller tube.
Get the finish-cap in the roller'southward tube right side. Also, utilize one pan-head spiral to agree the roller tube's end-cap. Exercise the same rolling process for the other end.
Footstep 3: Secure the Slide-out Awning

The last step is to secure the cloth onto the slide-out bracket. Do this step by positioning both the fabric and roller tube until both items are at the eye of the slide-out.
Secure both end-cap arms to the mounting brackets. Utilize 2 pan-head screws to affix both terminate-caps on both ends. Outset the procedure from the lesser then information technology is easier for you to catch the height end if it falls out.
Remove the locking pin with the leap machinery from the roller tube. The textile should be rolling straight dorsum into the tube. Test the functionality of the awning by opening and closing information technology a few times.
Finally, use another pair of screws to secure the roller zipper to the rails.
Conclusion
Did you like this guide on how to install RV slide out awning? Share with us your thoughts in the comments. Besides, make sure to share this article with other RVers that may need help in installing their slide-out awnings.
In summary, make sure to buy the items needed for this project, such as an RV slide out awning kit, a ladder, and some basic tools. Next, stay patient when installing the cloth, particularly when unrolling it from the roller tube.
Practice diligence and patience. If washed correctly, you lot can now relish your fully functional RV slide-out awning.
bosworthhimentionce.blogspot.com
Source: https://www.rvzone.com/install-rv-slide-out-awning/
0 Response to "what is the cost to install slide out topper"
Post a Comment